
5 Steps to Build a Privacy Fence with Metal Posts (Using Patavin C6)
Table of Contents
- Introduction
- Materials and Tools You’ll Need
- Step 1: Plan Your Fence Layout
- Step 2: Prepare the Ground and Mark Post Locations
- Step 3: Install Patavin C6 Corner Posts
- Step 4: Insert Privacy Fence Panels or Boards
- Step 5: Secure and Adjust the Structure
- Maintenance Tips
- Summary Table
Introduction
Privacy fences are not only essential for creating a secluded outdoor space but also increase property value and curb appeal. Building a privacy fence with metal posts, such as the Patavin Privacy Fence Corner Post Kit C6, provides durability, corrosion resistance, and modular simplicity. In this guide, we’ll walk you through step-by-step instructions to construct a high-quality privacy fence using metal posts—ideal for patios, gardens, or yard barriers.
Materials and Tools You’ll Need
Included in the Patavin C6 Corner Post Kit:
- 1 x 72’’ powder-coated aluminum corner post
- 1 x anchor plate
- 1 x post cap
- 1 x rail block
- 6 x 1/2" spacers
- 4 x bolt screws
- 1 x Allen key
- 1 x foot cover
- Installation guide
Additional Tools and Supplies Required:
- 5/4" wood or 1" composite planks (not included)
- 3/8” anchor screws (sold separately)
- Measuring tape
- Level and chalk line
- Electric drill (optional for anchoring)
- Posthole digger (if embedding posts into ground)
- Gravel and quick-set concrete (for embedded installation)
Step 1: Plan Your Fence Layout

- Measure your property and determine the total fence length.
- Decide where corner posts, inline posts, and gates will be located.
- Mark fence lines using string or chalk line.
- Spacing between posts should match the board or panel widths.
Step 2: Prepare the Ground and Mark Post Locations

- Mark each post location with a stake or spray paint.
- If surface mounting, ensure the base is level concrete or pavers.
- If ground-mounting, use a posthole digger to dig holes approx. 24–30” deep.
- Add 3–4” of gravel for drainage at the bottom of each hole.
Step 3: Install Patavin C6 Corner Posts

For Surface Mounting:
- Place anchor plate and bolt down using 3/8” anchor screws (sold separately).
- Slide the corner post onto the anchor plate and align using the level.
- Insert the included bolt screws using the Allen key.
For In-Ground Installation:
- Insert post into hole and fill with fast-setting concrete.
- Use a level to ensure vertical alignment; allow concrete to cure fully.
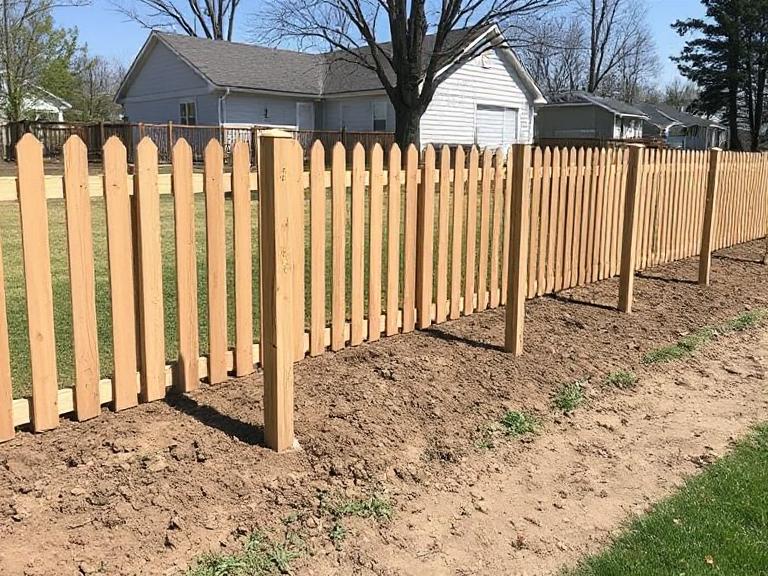
Step 4: Insert Privacy Fence Panels or Boards
- Measure and cut your 5/4” wood or 1” composite planks as needed.
- Slide planks directly into the pre-engineered side slots—no drilling or nailing required.
- Use the nail-free rail system to position planks securely and evenly.
- Install spacers between planks if air gaps or expansion joints are needed.
Step 5: Secure and Adjust the Structure
- Add the post cap and foot cover for a clean finish.
- Check all planks are level and equally spaced.
- Re-tighten any screws if necessary.
- The Patavin Kit C6 allows future adjustments by simply removing and sliding boards.
Maintenance Tips
- Clean the aluminum post with water and mild soap—avoid abrasive cleaners.
- If using natural wood, stain or seal annually to prevent weathering.
- Inspect bolts and boards seasonally; tighten or replace as needed.
- Composite boards typically require less maintenance than wood.
Summary Table
| Step | Action | Details |
|---|---|---|
| Step 1 | Plan Layout | Measure, mark fence lines, decide post spacing |
| Step 2 | Ground Prep | Mark post locations; dig holes or prepare surface mount base |
| Step 3 | Install Corner Posts | Use Patavin C6 kit to anchor surface mount or pour concrete for ground install |
| Step 4 | Insert Fence Boards | Slide boards into pre-cut slots using nail-free rail system |
| Step 5 | Final Adjustments | Add caps, spacers, foot cover, and inspect level/spacing |