

5 Steps to Wood Privacy Fence Installation
Table of Contents
Introduction
A wood privacy fence offers both beauty and functionality, giving homeowners a secluded retreat in their backyard. Whether you’re looking to block out noise, add security, or enhance curb appeal, installing a wood privacy fence can dramatically transform your outdoor space. This guide will walk you through the step-by-step process of wood fence installation, along with tips and tools that will ensure professional-grade results.
Step 1: Planning and Preparation

Before installing a fence, careful planning is essential to avoid costly mistakes and ensure long-term durability.
Key Considerations
- Check local building codes and HOA regulations.
- Mark property boundaries with accuracy.
- Determine fence height and style based on privacy needs.
- Call utility companies to mark underground lines.
Pro Tip
Sketch a simple layout of your fence, including corners, gates, and dimensions, to calculate the number of posts and panels required.
Step 2: Gathering Tools and Materials

Having the right tools and quality materials will make the installation process faster and more efficient.
Tools You’ll Need
- Post hole digger or auger
- Level
- Tape measure
- Hammer and nails/screws
- Circular saw (if trimming panels)
- Concrete mix
Materials to Prepare
- Wooden fence panels or pickets
- Posts (treated wood or privacy post systems)
- Rails (top and bottom)
- Gravel for drainage
- Stain, sealant, or paint for finishing
Step 3: Installing Fence Posts

Posts form the backbone of your fence. Properly installed posts ensure strength and longevity.
Installation Steps
- Mark post locations with stakes and string.
- Dig post holes (about 1/3 the length of the post).
- Add gravel at the bottom for drainage.
- Place the post in the hole and pour concrete around it.
- Check alignment and allow concrete to cure.
Pro Tip
Space posts evenly (usually 6-8 feet apart) for maximum stability and aesthetic consistency.
Step 4: Attaching Rails and Panels

Once the posts are set, attach the horizontal rails and then secure the vertical pickets or panels.
Steps to Follow
- Attach bottom rail, then top rail, ensuring both are level.
- Secure panels or pickets to the rails using galvanized screws or nails.
- Leave a small gap between pickets to allow for expansion.
Design Options
- Board-on-board for maximum privacy.
- Shadowbox for airflow and partial visibility.
- Horizontal slats for a modern look.
Step 5: Finishing Touches

The final stage enhances durability and visual appeal.
Tasks to Complete
- Trim uneven post tops for a uniform look.
- Apply stain, paint, or weatherproof sealant.
- Install gates and decorative caps as desired.
- Inspect for stability and make adjustments if necessary.
PATAVIN Outdoor Privacy Post System
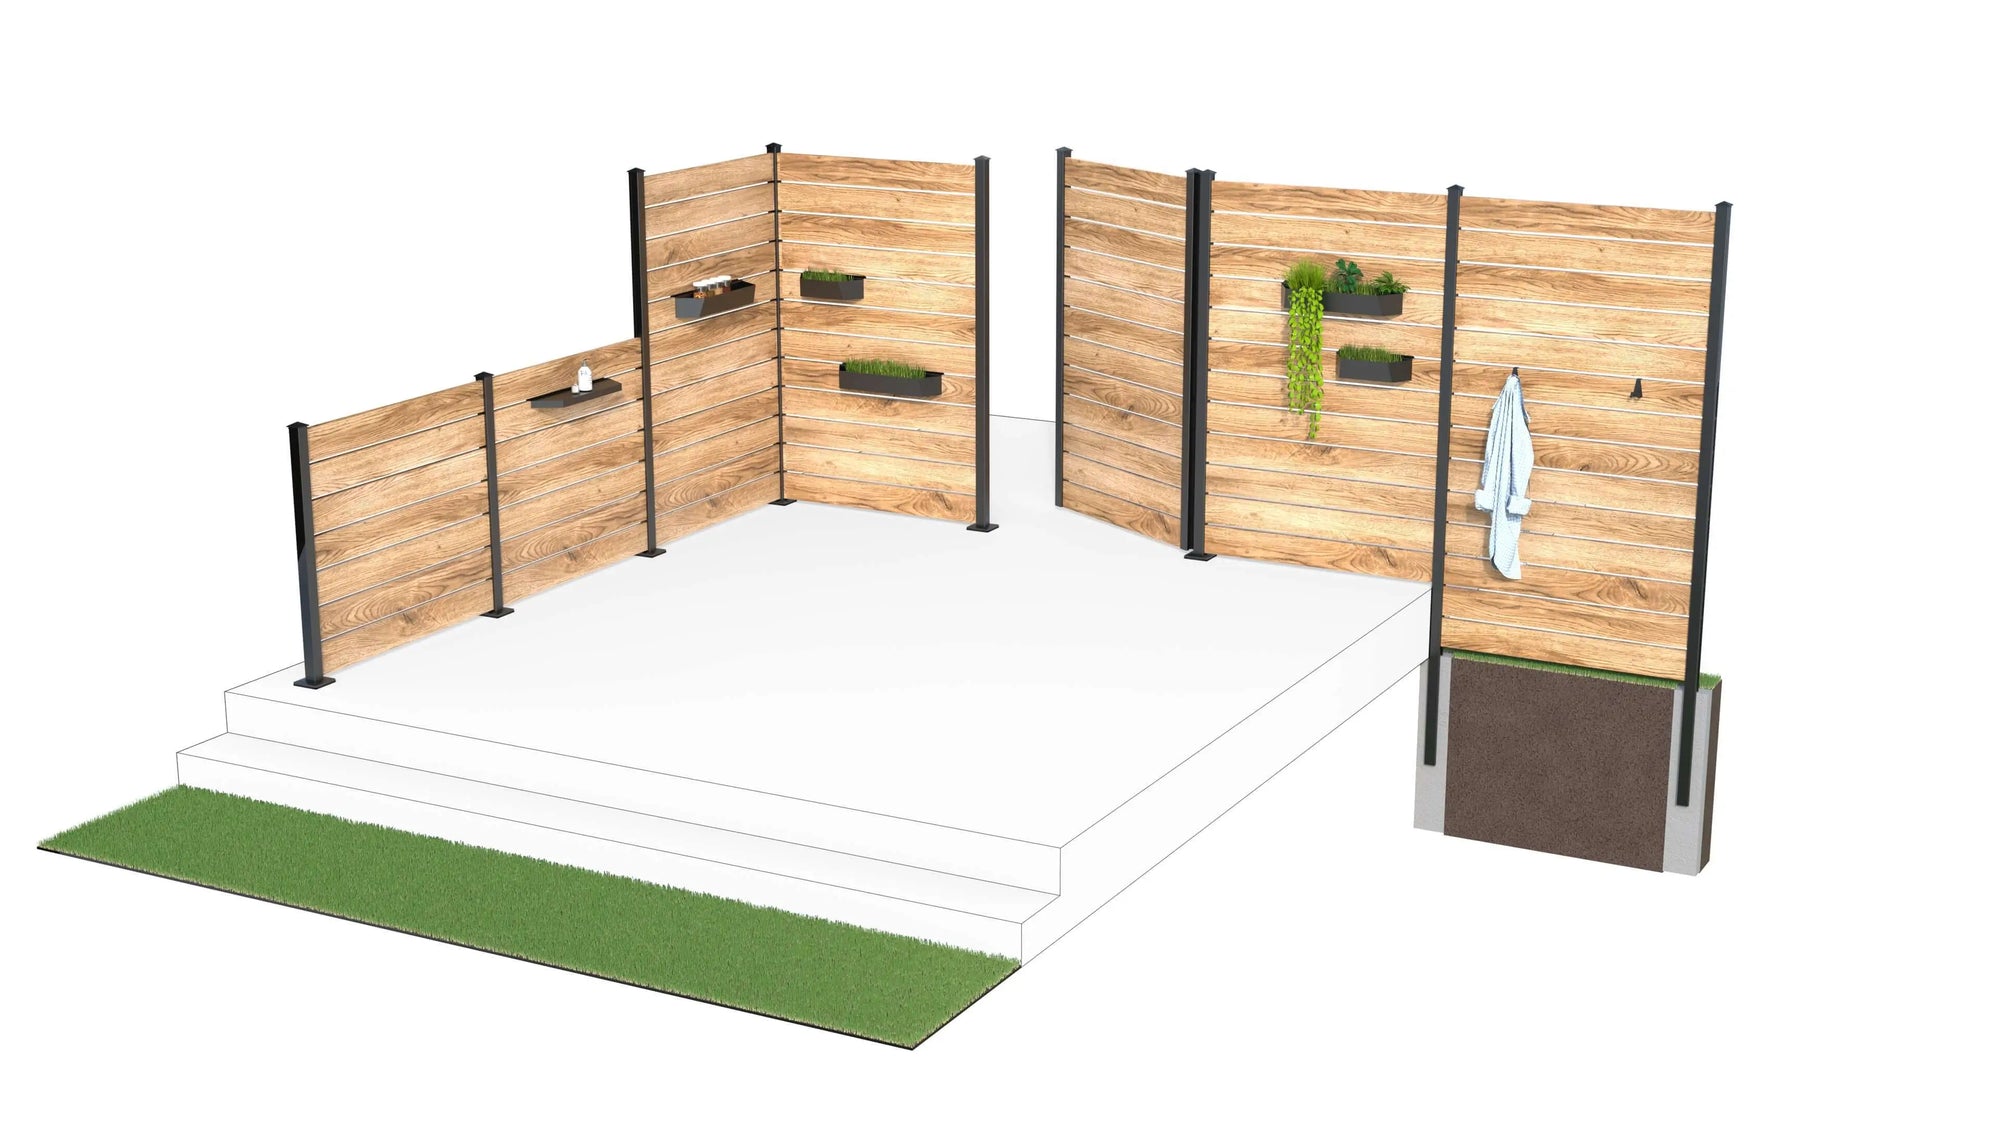
Engineering Privacy, Crafting Freedom — At PATAVIN, we believe your outdoor space should be a sanctuary where beauty meets purpose, and neighbors coexist harmoniously. Since 2020, we’ve redefined modern privacy solutions with our Outdoor Privacy Post System, empowering homeowners to transform patios, pools, and backyards into elegantly secluded retreats.
Our Products
- END POST KIT 8' - E8 — Designed for finishing fence runs with stability and strength.
- LINE POST KIT 8' - L8 — Provides seamless alignment for fence panels along straight lines.
- CORNER POST KIT 8' - C8 — Engineered for precise 90° turns without compromising durability.
By integrating PATAVIN’s post system with your wood fence installation, you ensure both elegance and structural integrity, making your privacy project a long-lasting investment.
Summary Table
| Step | Description | Pro Tip |
|---|---|---|
| Planning | Define boundaries, check codes, design layout | Sketch a simple plan before buying materials |
| Gathering Materials | Prepare tools, posts, rails, panels, and finishes | Invest in quality materials for longevity |
| Installing Posts | Set posts with gravel and concrete for stability | Space posts evenly at 6-8 feet |
| Attaching Rails & Panels | Secure rails and mount panels or pickets | Choose design style to match aesthetics |
| Finishing Touches | Stain, paint, add gates or decorative caps | Use weatherproof finishes to extend lifespan |
FAQs
Q1: How deep should fence posts be set?
Posts should be buried at least one-third of their length, typically 2-3 feet deep depending on fence height.
Q2: How long does it take to install a wood privacy fence?
For an average backyard, installation may take 2-4 days depending on experience and crew size.
Q3: Should I use nails or screws for panels?
Galvanized screws are recommended for durability and easier repairs.
Q4: How can I maintain my wood fence?
Apply a sealant every 2-3 years, check for rot, and replace damaged boards promptly.