
6 Steps to Securing a Privacy Screen to the Ground
Installing a privacy screen in your yard or patio not only enhances aesthetics and personal space but also adds value to your property. The key to a durable installation lies in properly securing your privacy screen to the ground using reliable hardware like the PATAVIN privacy fencing LINE POST KIT 6' - L6. This guide outlines a step-by-step approach to achieving a long-lasting and visually appealing privacy screen setup.

Table of Contents
- Why Privacy Screens Matter
- Tools and Materials Needed
- About PATAVIN LINE POST KIT L6
- Step-by-Step Installation
- Tips for Extra Durability
- Common Mistakes to Avoid
- Summary Table
- Reference Links
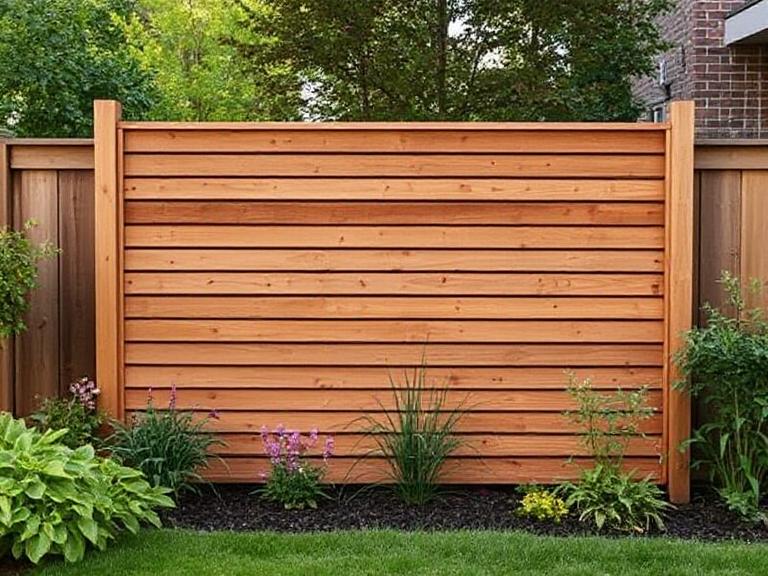
Why Privacy Screens Matter
Privacy screens provide more than just seclusion; they serve functional and decorative roles in outdoor spaces:
- Increased privacy: Block unwanted views from neighbors or pedestrians.
- Wind protection: Reduce wind intensity on patios and balconies.
- Noise reduction: Act as sound buffers in urban or busy environments.
- Design enhancement: Boost the visual appeal of your backyard or garden.
Tools and Materials Needed

Before installation, gather the following tools and materials:
- Screwdriver or power drill
- Anchor screws (3/8”) (sold separately)
- Measuring tape
- Level tool
- Posthole digger (for soil installations)
- Concrete (for added stability)
- PATAVIN LINE POST KIT 6’ - L6
- 5/4 wood or 1” composite boards
About PATAVIN LINE POST KIT L6
The PATAVIN privacy fencing LINE POST KIT L6 is designed for fast, tool-free assembly and high durability. Its modular design allows for easy plank insertion and solid anchoring. Here are its standout features:
- Material: Rustproof powder-coated aluminum
- Post size: 2.16’’ x 2.16’’ x 72’’
- Compatibility: Fits 5/4" wood and 1" composite planks
-
Components:
- 1 x 72" line post
- 1 x anchor plate
- 1 x post cap
- 1 x railblock
- 6 x 1/2" spacers
- 4 x bolt screws
- 1 x Allen key
- 1 x foot cover
- Installation guide
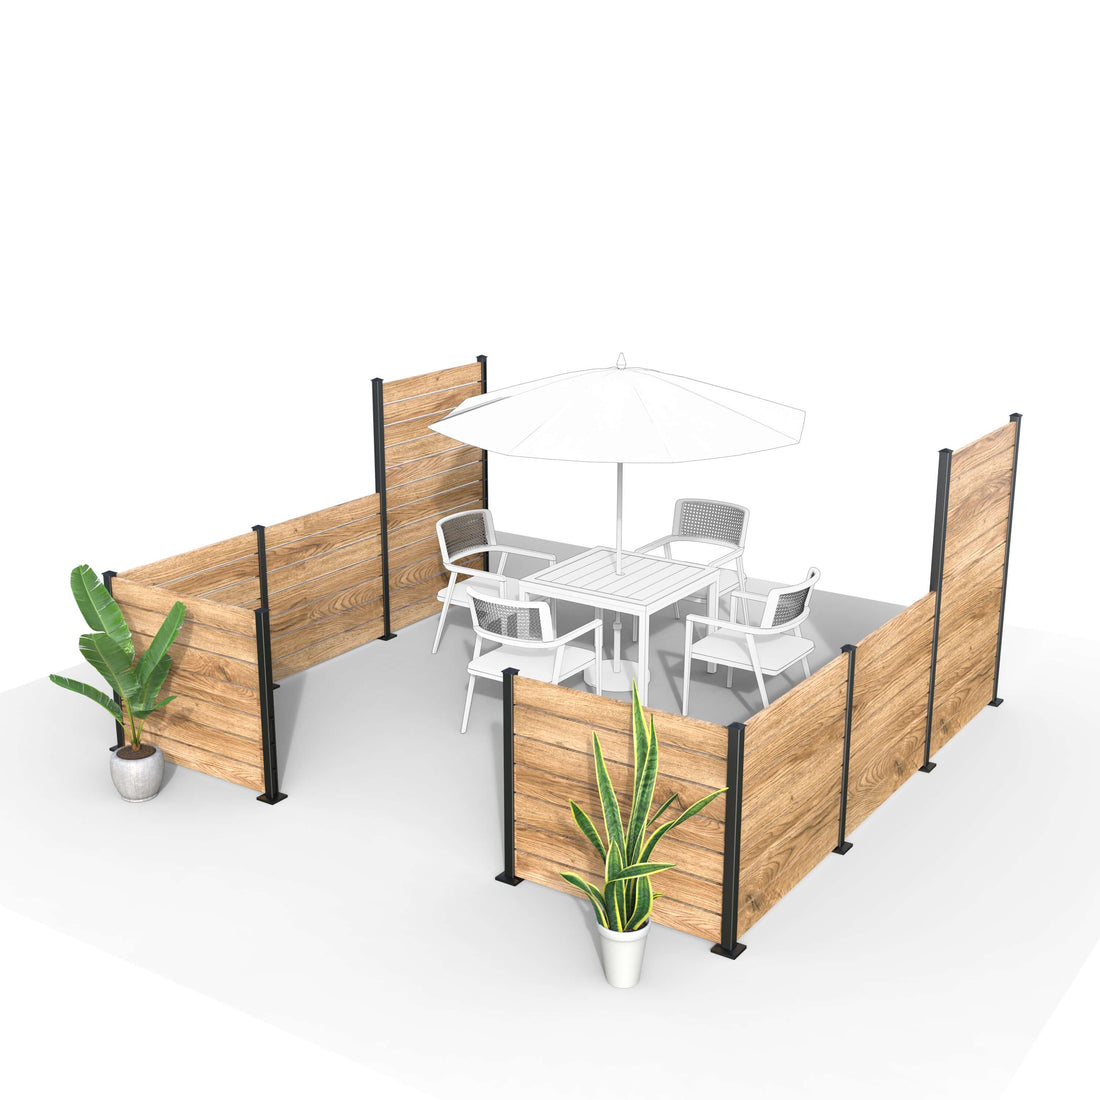
Step-by-Step Installation
Step 1: Plan the Layout

- Use measuring tape to define where each privacy screen panel will go.
- Mark each post location with chalk or stakes.
- Ensure straight alignment using a string line for multiple panels.
Step 2: Prepare the Ground

- For concrete or decking surfaces, use a hammer drill to pre-drill holes for the anchor screws.
- For soil or grass:
- Dig a hole at least 18–24 inches deep and 8 inches wide.
- Fill 2–3 inches with gravel for drainage.
Step 3: Anchor the Post
- Position the anchor plate over the drilled holes or soil pit.
- Use 3/8” anchor screws to secure the plate (sold separately).
- If in soil, pour concrete into the hole and embed the anchor plate while leveling the post.
- Let concrete cure for 24 hours.
Step 4: Assemble the Post Components
- Slide the post onto the anchor plate and fasten using the bolt screws and Allen key.
- Insert the railblock and spacers into the designated grooves.
- Attach the post cap and foot cover for a finished look.
Step 5: Insert the Privacy Planks
- Slide your wood or composite boards into the side slots of the post.
- No nails or drilling required—spacers maintain a consistent gap.
- Repeat for each section until full height is reached.
Step 6: Repeat and Extend
- Continue with additional PATAVIN posts to build out the full privacy screen length.
- Double-check vertical alignment and level for each post before securing.
Tips for Extra Durability
- Use treated lumber: Prevents warping, swelling, and decay.
- Seal the base: Apply waterproof sealant around the base for extra weather resistance.
- Choose the right anchor method: Soil installations benefit from concrete footings; hard surfaces require wedge anchors or sleeve anchors.
Common Mistakes to Avoid
- Skipping level checks: Can cause misaligned posts and unstable fencing.
- Improper screw selection: Ensure screws are the recommended size and weather-rated.
- Installing in loose soil without concrete: This can lead to instability over time.
- Over-tightening screws: May damage aluminum components or strip threading.
Summary Table
| Step | Action | Key Tip |
|---|---|---|
| 1 | Plan the layout and mark post spots | Use a level string line for straight alignment |
| 2 | Prepare ground with drill or posthole digger | Gravel base helps with drainage in soil installs |
| 3 | Anchor the base plate securely | Use concrete for soil-based stability |
| 4 | Attach and align the post with hardware | Check level vertically before tightening bolts |
| 5 | Insert wood or composite privacy planks | Use spacers for even gaps and airflow |
| 6 | Repeat for entire fence setup | Verify vertical consistency across all posts |