7 Steps to Build a Wood and Metal Fence: A DIY Guide Using the PATAVIN KIT L8
Share
Table of Contents
- Introduction
- Why Choose Wood and Metal Fences?
- Tools and Materials Needed
- Step-by-Step Guide to Installing Your Fence
- Tips for Choosing the Right Boards
- Maintenance and Care
- Why Use PATAVIN Line Post Kit L8?
- Summary Table
- Conclusion
Introduction
If you’re planning to enhance your yard’s aesthetics and security, a wood and metal fence offers the perfect blend of modern durability and natural appeal. This guide provides detailed, step-by-step instructions to help you build a wood and metal fence using the versatile PATAVIN Line Post Kit L8 – a modular, easy-to-install solution for homeowners and DIY enthusiasts.

Why Choose Wood and Metal Fences?
Combining wood with metal provides functionality and style that suits both urban and suburban homes. Key benefits include:
- Durability: Metal provides structural strength while wood adds visual warmth.
- Customization: Use natural wood or composite for different styles and finishes.
- Low maintenance: Aluminum posts resist rust and weather damage.
- Modern design: Perfect for contemporary gardens, patios, and balconies.
Tools and Materials Needed
Before starting your project, gather the following:
From the PATAVIN KIT L8:
- 1 x 96’’ powder-coated aluminum line post
- 1 x Anchor plate
- 1 x Post cap
- 1 x Railblock
- 6 x 1/2" spacers
- 4 x Bolt screws
- 1 x Allen key
- 1 x Foot cover
- Installation guide
Additional Materials (sold separately):
- 5/4" thick wood boards or 1" composite boards
- 3/8’’ anchor screws
Tools You’ll Need:
- Drill or impact driver
- Measuring tape
- Level
- Shovel or post digger (for in-ground installation)
- Saw (if custom board sizing is required)
Step-by-Step Guide to Installing Your Fence
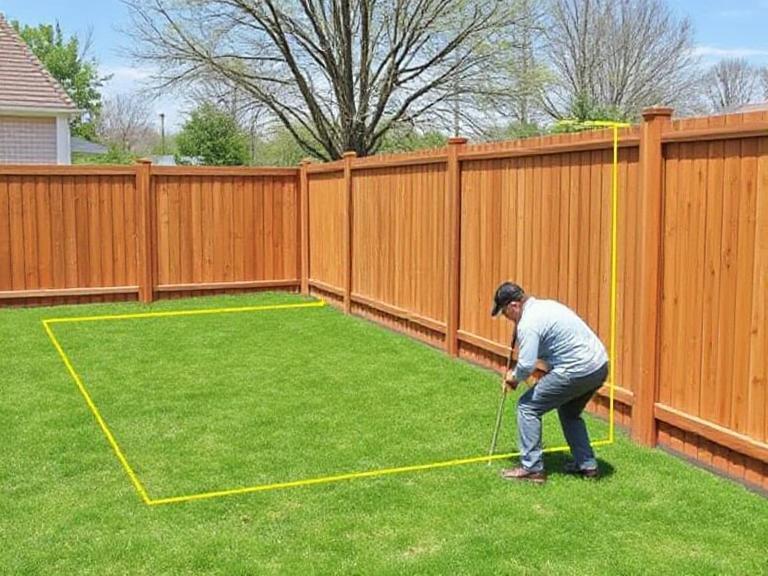
Step 1: Plan and Mark Your Fence Layout

- Measure and mark the desired fence line using stakes and string.
- Mark each post position based on the width of your chosen boards (typically 6-8 feet apart).
Step 2: Prepare the Ground

- Level the area where the posts will be installed.
- If mounting in concrete or decking, use the anchor plate.
- For soil installation, dig holes at least 24 inches deep and fill with concrete for stability.
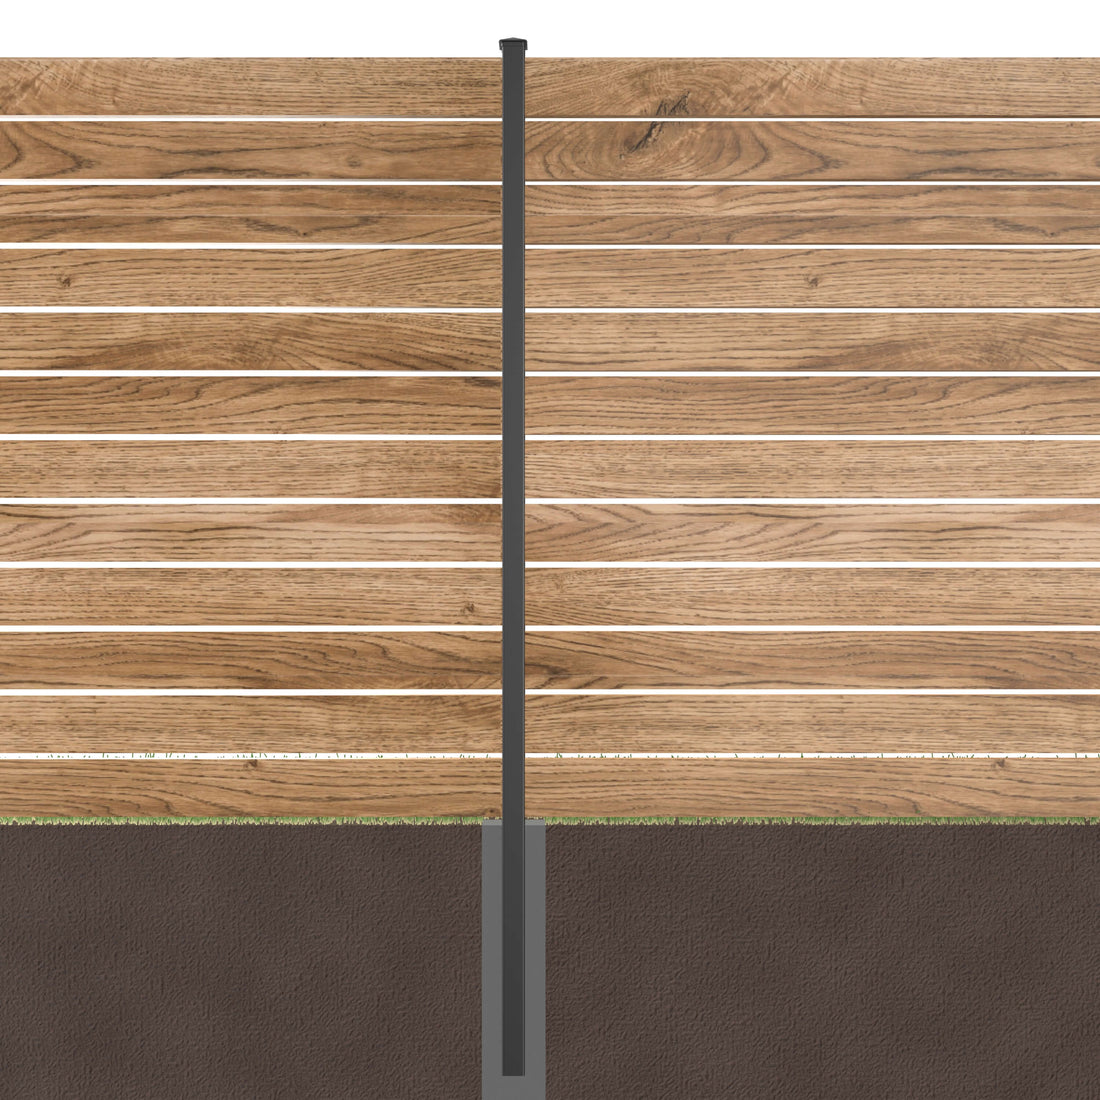
Step 3: Install the PATAVIN Line Post
- Place the post on the anchor plate or into the concrete footing.
- Ensure the post is perfectly vertical using a level.
- Secure the post by tightening the anchor bolts with the included Allen key.
Step 4: Insert Spacers and Railblock
- Place the railblock into the pre-engineered slot.
- Insert the 1/2" spacers at appropriate intervals to maintain even spacing between boards.
Step 5: Slide in Your Boards
- Using the nail-free sliding rail system, insert each 5/4" wood or 1" composite board into the slot.
- No drilling or screwing is required — simply slide and lock.
- Double-check alignment and spacing after inserting each board.
Step 6: Secure the Top with Post Cap and Cover
- Once all boards are inserted, attach the post cap to the top of the aluminum post.
- Finish with the foot cover to conceal bolts for a clean look.
Step 7: Repeat for Additional Sections
- Continue these steps for each post section.
- Ensure consistent spacing and height for a professional finish.
Tips for Choosing the Right Boards

The PATAVIN Line Post Kit L8 is compatible with both wood and composite boards, offering creative flexibility. Consider these tips:
- For natural aesthetics: Use cedar, redwood, or pressure-treated pine.
- For low-maintenance needs: Choose composite planks that resist moisture and fading.
- Check thickness: Ensure wood is 5/4" thick or composite is 1" to fit slots correctly.
- Custom staining or painting: Apply finishes before installation for best results.
Maintenance and Care
- Aluminum Posts: Wipe with a damp cloth to remove dirt and debris.
- Wood Panels: Reseal or stain annually to prevent weather damage.
- Composite Boards: Rinse with a hose or mild soap solution to clean.
- Hardware Check: Inspect anchor bolts every 6-12 months to ensure tightness.
Why Use PATAVIN Line Post Kit L8?

The PATAVIN KIT L8 is a modern fencing solution that prioritizes speed, safety, and strength. Here’s what makes it stand out:
- Instant Assembly: Complete modular section in under 10 minutes without power tools.
- Rustproof and Weather-Resistant: Powder-coated aluminum withstands all climates.
- Tool-Free Insertion: Sliding rail system means no screws, nails, or drills are needed for boards.
- Universal Compatibility: Works with both wood and composite materials.
- Permanent Durability: Designed for year-round outdoor use with industrial-grade materials.
Summary Table
| Step | Description | Time Estimate |
|---|---|---|
| 1. Plan Layout | Mark the fence line and post positions | 30 minutes |
| 2. Ground Prep | Level and dig or prepare for anchoring | 45–60 minutes |
| 3. Install Posts | Anchor PATAVIN posts securely | 10–15 minutes per post |
| 4. Insert Spacers | Install spacers and railblocks | 10 minutes |
| 5. Slide Boards | Insert wood/composite boards | 10–20 minutes per section |
| 6. Finish Top | Cap post and cover foot area | 5 minutes |
| 7. Maintenance | Clean, inspect, and reseal as needed | Seasonally |
Conclusion
Building a fence no longer requires a contractor. With the PATAVIN Line Post Kit L8, you can install a sleek, durable wood and metal fence in a single afternoon with minimal tools and maximum satisfaction. Whether you're enhancing your backyard privacy, building a patio screen, or designing a stylish balcony barrier, PATAVIN offers an industrial-grade solution that looks amazing and lasts for years.
