

8 steps to Install a Privacy Fence with PATAVIN Modular Fence End Post Kit
Table of Contents
- Introduction
- Tools and Materials Needed
- Understanding the PATAVIN E8 Kit
- Step-by-Step Installation Guide
- Benefits of PATAVIN Modular Fencing
- Maintenance and Care
- Summary Table
Introduction
Installing a privacy fence is one of the most effective ways to enhance your outdoor space, increase property security, and define your boundaries. The PATAVIN Modular Privacy Fence End Post Kit E8 is a modern fencing solution that allows for quick installation, durable performance, and modular flexibility. This guide walks you through each step of the installation process, providing professional tips and insights to ensure a smooth and secure setup.

Tools and Materials Needed
Before you start, gather the following tools and materials:
- Drill with masonry bit (if anchoring into concrete)
- Level
- Measuring tape
- Rubber mallet
- Marker or chalk line
- Screwdriver or Allen wrench (included)
- 5/4" wood or 1" composite planks (not included)
- Anchor screws (3/8", not included)
Understanding the PATAVIN E8 Kit
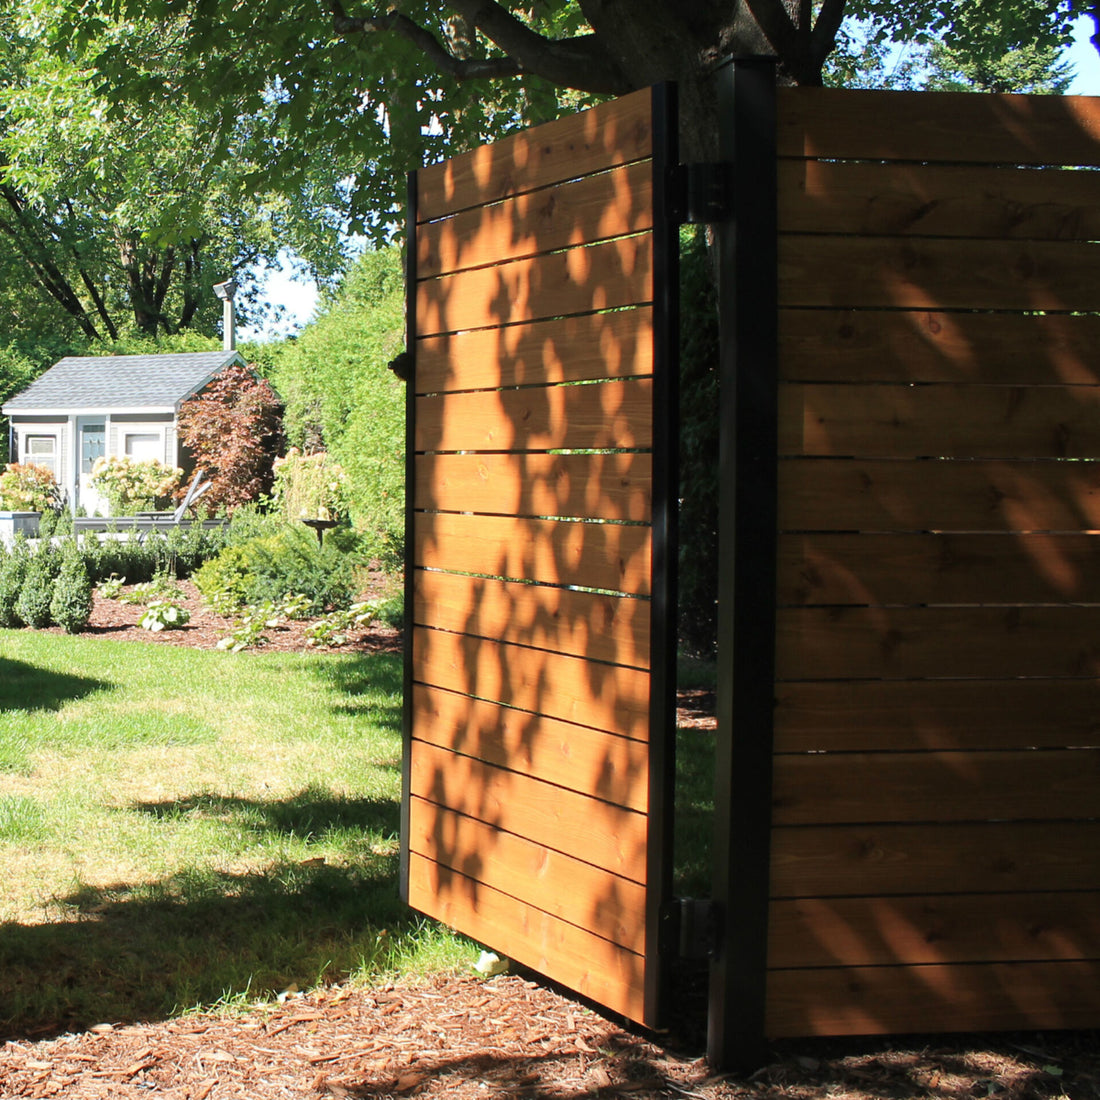
The PATAVIN End Post Kit E8 includes essential components for an 8-foot fence end post installation. Its powder-coated aluminum construction ensures rustproof durability for permanent outdoor setups.
Kit Contents:
- 1 x 96’’ End Post (2.16’’ x 2.16’’ x 96")
- 1 x Anchor Plate
- 1 x Post Cap
- 1 x Railblock
- 6 x 1/2" Spacers
- 4 x Bolt Screws
- 1 x Allen Key
- 1 x Foot Cover
- Installation Guide
Step-by-Step Installation Guide
Step 1: Plan and Measure Your Fence Layout

- Use stakes and string to outline the fence boundary.
- Measure post-to-post spacing according to your chosen plank length.
- Mark the end post and corner post positions with chalk or paint.
Step 2: Prepare the Ground
- Clear any obstructions or vegetation where the post will be anchored.
- If mounting on concrete or decking, ensure the surface is level and structurally sound.
Step 3: Install the End Post Anchor Plate

- Align the anchor plate on the ground at the marked location.
- Use a drill to secure the plate with 3/8’’ anchor screws (sold separately).
- Ensure the plate is flush and level.
Step 4: Attach the Post to the Anchor Plate
- Slide the bottom of the end post into the anchor plate.
- Secure using the provided bolt screws and Allen key.
- Use a level to ensure the post stands perfectly vertical before tightening completely.
Step 5: Insert Spacers and Railblock
- Insert the railblock into the pre-engineered slot inside the post.
- Place the 1/2" spacers as needed to maintain consistent plank gaps and allow for expansion.
Step 6: Slide in Wood or Composite Boards
- Use the nail-free sliding rail system to insert your 5/4" thick wood planks or 1" composite boards.
- Slide planks into the side slot, starting from the bottom and stacking upward.
- Planks should fit snugly without the need for additional tools.
Step 7: Secure the Post Cap and Foot Cover
- Once boards are fully inserted, place the post cap on top for a clean finish.
- Slide the foot cover over the base to conceal the anchor plate.
Step 8: Repeat for Additional Sections
- Repeat steps for corner, center, or opposite end posts.
- Adjust spacing and alignment as needed to complete the fence run.
Benefits of PATAVIN Modular Fencing

Why choose PATAVIN E8 for your privacy fence installation?
- Quick installation: Each post takes less than 10 minutes to install
- No nails or drilling: The sliding rail system allows for clean installation
- Modular design: Easily add or remove panels for future changes
- Universal compatibility: Works with both wood and composite planks
- Weather-resistant: Powder-coated aluminum ensures rust-free performance
Maintenance and Care
- Periodically inspect for loose bolts and tighten as necessary
- Clean posts with mild soap and water—avoid abrasive brushes
- For wood boards, apply sealant annually to preserve finish
- Check alignment and reposition planks if needed due to seasonal expansion
Summary Table
| Step | Task | Tools/Parts | Tips |
|---|---|---|---|
| 1 | Plan layout | Measuring tape, chalk | Stake corners and mark boundaries |
| 2 | Prepare ground | Clearing tools | Ensure flat, solid surface |
| 3 | Install anchor plate | Drill, anchor screws | Use masonry bit for concrete |
| 4 | Attach end post | Allen key, bolts | Check post is vertical |
| 5 | Insert spacers and railblock | Spacers, railblock | Ensure proper gap for planks |
| 6 | Slide in boards | Planks | No nails needed |
| 7 | Finish with post cap & cover | Cap, foot cover | Provides finished look |
| 8 | Repeat for full fence | Repeat tools | Keep alignment consistent |
Conclusion: With the PATAVIN Modular Privacy Fence End Post Kit E8, installing a modern, durable, and adjustable privacy fence is easier than ever. Whether you're creating a yard enclosure, balcony screen, or garden partition, this system offers professional-grade results with DIY simplicity.