
8 Steps to Setting Fence Posts in a Straight Line
Table of Contents
- Introduction: Why Proper Fence Post Alignment Matters
- Tools and Materials You'll Need
- About the Privacy Panels END POST KIT 6' - E6
- Planning and Measuring Your Fence Layout
- Step-by-Step Guide: Setting Fence Posts in a Straight Line
- Common Mistakes to Avoid
- Finishing Touches for a Professional Look
- Maintenance Tips for Long-Lasting Fence Posts
- Summary Table: Key Takeaways
- References
Introduction: Why Proper Fence Post Alignment Matters

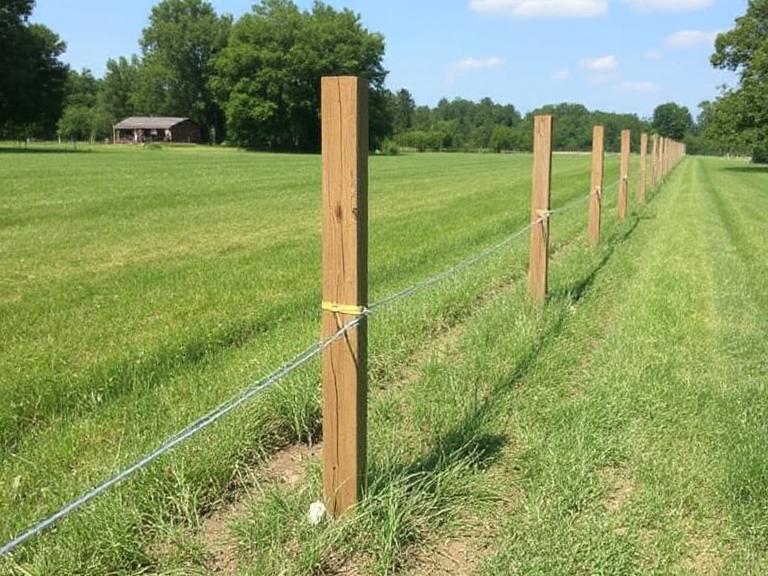
Building a straight, sturdy fence starts with properly installed fence posts. Misaligned posts lead to uneven panels, sagging fences, and structural weakness. Learning how to set fence posts in a straight line ensures your fence looks professional and lasts for years.
Tools and Materials You'll Need
- String line & stakes: To establish a perfectly straight reference line.
- Post hole digger or auger: For digging uniform holes.
- Level: To make sure posts are plumb (perfectly vertical).
- Gravel & concrete mix: For strong footing and drainage.
- Tape measure: To space posts evenly.
- Wrench or Allen keys: For kit assembly.
About the Privacy Panels END POST KIT 6' - E6
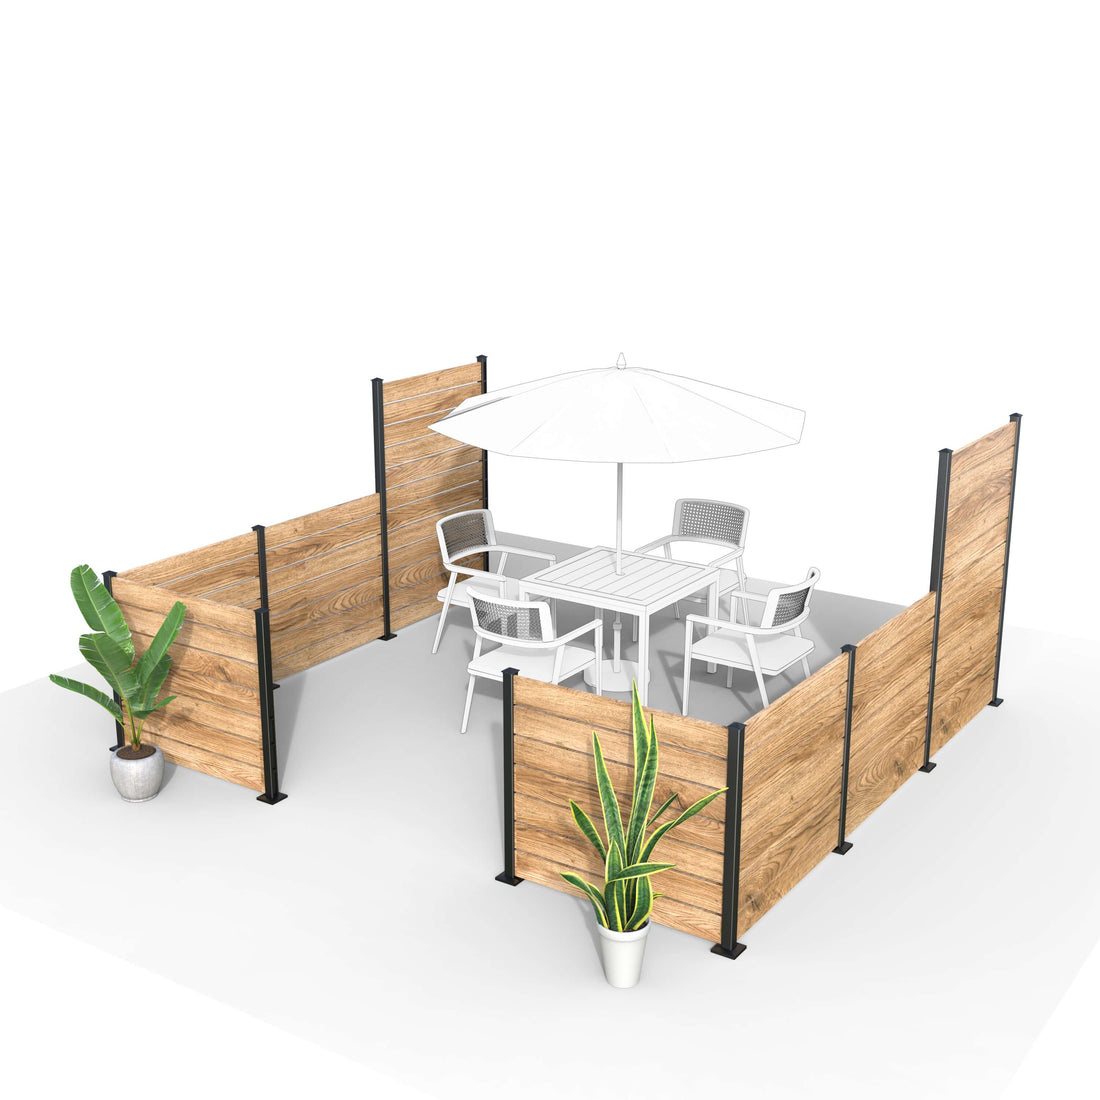
The Privacy Panels END POST KIT 6' - E6 is a modular solution designed for easy and durable fence installation. It includes:
- 1 powder-coated aluminum end post (2.16’’ x 2.16’’ x 72’’)
- Anchor plate, post cap, railblock, spacers, bolt screws, Allen key, foot cover, and guide
- Nail-free sliding rail system – simply slide 5/4" wood or 1" composite planks into slots
- Rustproof, weather-resistant construction for long-term outdoor durability
Key benefits:
- Instant assembly: Install basic units in under 10 minutes
- Universal compatibility: Works with wood, composite, and custom planks
- Future flexibility: Easily remove or replace boards as needed
Planning and Measuring Your Fence Layout
- Determine the fence line: Use stakes and string to mark the exact path.
- Measure spacing: Post spacing typically ranges from 6 to 8 feet. Keep spacing consistent.
- Check property lines: Verify boundaries to avoid disputes with neighbors.
Step-by-Step Guide: Setting Fence Posts in a Straight Line
Step 1: Establish a Guide Line

Drive stakes at both ends of your fence run. Run a tight string between them at the exact location where the front of each post will be.
Step 2: Mark Post Locations

Measure and mark the location of each post hole along the string line. Ensure equal spacing for a uniform look.
Step 3: Dig Post Holes
Use a post hole digger or auger to dig holes about 1/3 the height of the post. For a 6’ fence, holes should be about 24” deep.
Step 4: Add Gravel Base
Pour 3-4 inches of gravel into the bottom of each hole for drainage and stability.
Step 5: Position the Posts
Place each Privacy Panels END POST KIT post into its hole, aligning it with the string line.
Step 6: Set with Concrete
Pour mixed concrete around the post while keeping it plumb using a level. Allow concrete to set according to manufacturer instructions.
Step 7: Assemble the Kit Components
Attach the anchor plate, post cap, and railblock as directed in the installation guide. Use the provided Allen key and screws.
Step 8: Install Fence Boards
Slide your wood or composite planks into the pre-engineered slots — no nails or drills required.
Common Mistakes to Avoid
- Skipping the string line: This almost always results in a crooked fence.
- Inconsistent hole depth: Leads to uneven fence height.
- Not checking plumb: Posts must be vertical before concrete sets.
- Not allowing concrete to cure: Premature assembly can compromise stability.
Finishing Touches for a Professional Look
- Install post caps for a polished finish and added weather protection.
- Paint or stain boards if desired for style and extra durability.
- Double-check all connections and tighten screws after assembly.
Maintenance Tips for Long-Lasting Fence Posts
- Inspect annually for loose posts or boards.
- Clean aluminum posts with mild soap and water to prevent dirt buildup.
- Touch up paint or protective coatings as needed.
- Check for ground erosion that might affect post stability.
Summary Table: Key Takeaways
| Step | Action | Pro Tip |
|---|---|---|
| 1 | Set string line | Keep it taut for accurate alignment |
| 2 | Mark post locations | Measure carefully for even spacing |
| 3 | Dig holes & add gravel | Ensure proper depth for stability |
| 4 | Install posts & concrete | Check plumb before concrete sets |
| 5 | Assemble kit & install planks | Use nail-free sliding rail system for easy adjustments |